With OAuth2 being the current de-facto authorization framework, a lot of vendors use it to secure their APIs. Furthermore, you can use OAuth2 to enable social logins (e.g. Google or Facebook) and don’t need your own user management. As the WebClient from Spring WebFlux is the preferred client for Spring applications, I want to provide an example for the Spring WebClient OAuth2 setup. As an example, I’ll use GitHub for an OAuth2 login and will access an OAuth2 protected API using the WebClient.
OAuth2 Spring WebFlux project setup
The Maven project for this example contains the required Spring Boot dependencies for Thymeleaf, WebFlux, Security and the OAuth2 client:
|
1 2 3 4 5 6 7 8 9 10 11 12 13 14 15 16 17 18 19 20 21 22 23 24 25 26 27 28 29 30 31 32 33 34 35 36 37 38 39 40 41 42 43 44 45 46 47 48 49 |
<?xml version="1.0" encoding="UTF-8"?> <project xmlns="http://maven.apache.org/POM/4.0.0" xmlns:xsi="http://www.w3.org/2001/XMLSchema-instance" xsi:schemaLocation="http://maven.apache.org/POM/4.0.0 https://maven.apache.org/xsd/maven-4.0.0.xsd"> <modelVersion>4.0.0</modelVersion> <parent> <groupId>org.springframework.boot</groupId> <artifactId>spring-boot-starter-parent</artifactId> <version>2.2.0.RELEASE</version> <relativePath/> <!-- lookup parent from repository --> </parent> <groupId>de.rieckpil.blog</groupId> <artifactId>spring-web-client-oauth2</artifactId> <version>0.0.1-SNAPSHOT</version> <name>spring-web-client-oauth2</name> <properties> <java.version>11</java.version> </properties> <dependencies> <dependency> <groupId>org.springframework.boot</groupId> <artifactId>spring-boot-starter-thymeleaf</artifactId> </dependency> <dependency> <groupId>org.springframework.boot</groupId> <artifactId>spring-boot-starter-webflux</artifactId> </dependency> <dependency> <groupId>org.springframework.boot</groupId> <artifactId>spring-boot-starter-security</artifactId> </dependency> <dependency> <groupId>org.springframework.security</groupId> <artifactId>spring-security-oauth2-client</artifactId> </dependency> </dependencies> <build> <plugins> <plugin> <groupId>org.springframework.boot</groupId> <artifactId>spring-boot-maven-plugin</artifactId> </plugin> </plugins> </build> </project> |
To use GitHub for OAuth2 login and for accessing their protected APIs, we have to configure the application as an OAuth2 client. Within the application.yml file, add the client-id and client-secret that you receive while creating an OAuth2 app on GitHub (follow this tutorial).
|
1 2 3 4 5 6 7 8 9 |
spring: security: oauth2: client: registration: github: client-id: replace-me client-secret: replace-me scope: read:user,public_repo |
Fortunately, Spring Security ships with information about the OAuth2 related endpoints for Google, Facebook and GitHub. Given this fact, we don’t have to configure any additional URLs. The client registration key github in the application.yml file above tells Spring to use GitHub.
For those of you who are interested in which class Spring configures these endpoints, have a look at the CommonOAuth2Provider:
|
1 2 3 4 5 6 7 8 9 10 11 12 13 14 15 |
GITHUB { @Override public Builder getBuilder(String registrationId) { ClientRegistration.Builder builder = getBuilder(registrationId, ClientAuthenticationMethod.BASIC, DEFAULT_REDIRECT_URL); builder.scope("read:user"); builder.authorizationUri("https://github.com/login/oauth/authorize"); builder.tokenUri("https://github.com/login/oauth/access_token"); builder.userInfoUri("https://api.github.com/user"); builder.userNameAttributeName("id"); builder.clientName("GitHub"); return builder; } } |
Securing the WebFlux application with OAuth2 login
Next, we have to secure our application. As we don’t want any unauthenticated users to access the application,
|
1 2 3 4 5 6 7 8 9 10 11 12 13 14 |
@Configuration public class SecurityConfiguration { @Bean SecurityWebFilterChain configure(ServerHttpSecurity http) { return http .authorizeExchange(exchanges -> exchanges.anyExchange().authenticated() ) .oauth2Login(withDefaults()) .oauth2Client(withDefaults()) .build(); } } |
Please note that this configuration is for using Spring WebFlux. If you are using the Servlet environment with Spring Web and Tomcat, the configuration is different as you have to extend the WebSecurityConfigurerAdapter class.
WebClient OAuth2 configuration
With the application security setup in place, we can continue with the configuration for the WebClient. The Spring Security OAuth2 client dependency provides a ServerOAuth2AuthorizedClientExchangeFilterFunction, which we can use to configure our WebClient instance. This filter is for working with the reactive web stack, for the Servlet stack, have a look at the ServletOAuth2AuthorizedClientExchangeFilterFunction.
Moreover, as the filter function takes a ReactiveOAuth2AuthorizedClientManager as an input argument, we have to provide this bean. To create such a bean we can inject the ReactiveClientRegistrationRepository which gets autoconfigured (as we use Spring Boot Security) based on our application.yml.
The GitHub API uses the authorization_code OAuth2 flow, so we can configure the ReactiveOAuth2AuthorizedClientProvider for only this flow. Other flows like client_credentials, refresh_token are also available.
|
1 2 3 4 5 6 7 8 9 10 11 12 13 14 15 16 17 18 19 20 21 22 23 24 25 26 27 28 29 30 31 |
@Configuration public class WebClientConfig { @Bean public WebClient webClient(ReactiveOAuth2AuthorizedClientManager authorizedClientManager) { ServerOAuth2AuthorizedClientExchangeFilterFunction oauth = new ServerOAuth2AuthorizedClientExchangeFilterFunction(authorizedClientManager); return WebClient.builder() .filter(oauth) .build(); } @Bean public ReactiveOAuth2AuthorizedClientManager authorizedClientManager( ReactiveClientRegistrationRepository clientRegistrationRepository, ServerOAuth2AuthorizedClientRepository authorizedClientRepository) { ReactiveOAuth2AuthorizedClientProvider authorizedClientProvider = ReactiveOAuth2AuthorizedClientProviderBuilder.builder() .authorizationCode() .build(); DefaultReactiveOAuth2AuthorizedClientManager authorizedClientManager = new DefaultReactiveOAuth2AuthorizedClientManager( clientRegistrationRepository, authorizedClientRepository); authorizedClientManager.setAuthorizedClientProvider(authorizedClientProvider); return authorizedClientManager; } } |
Accessing OAuth2 protected resources on GitHub
Last but not least, we’ll add a Thymeleaf page to demonstrate the OAuth2 login and the result of the API access with Spring’s WebClient. The page display the GitHub name of the logged-in user and all of the user’s GitHub repositories:
|
1 2 3 4 5 6 7 8 9 10 11 12 13 14 15 16 17 18 19 20 21 22 23 24 25 26 27 28 29 |
<!DOCTYPE HTML> <html xmlns:th="http://www.thymeleaf.org"> <head> <meta charset="UTF-8"/> <title>OAuth2 WebClient</title> <link rel="stylesheet" href="https://stackpath.bootstrapcdn.com/bootstrap/3.4.1/css/bootstrap.min.css" integrity="sha384-HSMxcRTRxnN+Bdg0JdbxYKrThecOKuH5zCYotlSAcp1+c8xmyTe9GYg1l9a69psu" crossorigin="anonymous"> <link rel="stylesheet" href="https://stackpath.bootstrapcdn.com/bootstrap/3.4.1/css/bootstrap-theme.min.css" integrity="sha384-6pzBo3FDv/PJ8r2KRkGHifhEocL+1X2rVCTTkUfGk7/0pbek5mMa1upzvWbrUbOZ" crossorigin="anonymous"> </head> <body> <div class="container-fluid"> <div class="row"> <div class="col-md-6 col-md-offset-3"> <h3 th:text="'GitHub repositories of ' + ${username}"></h3> <p>Only the first 100 repositories are shown</p> <ol> <li th:each="repository : ${repositories}" th:text="${repository}"></li> </ol> <code th:text="${result}"> </code> </div> </div> </div> </body> </html> |
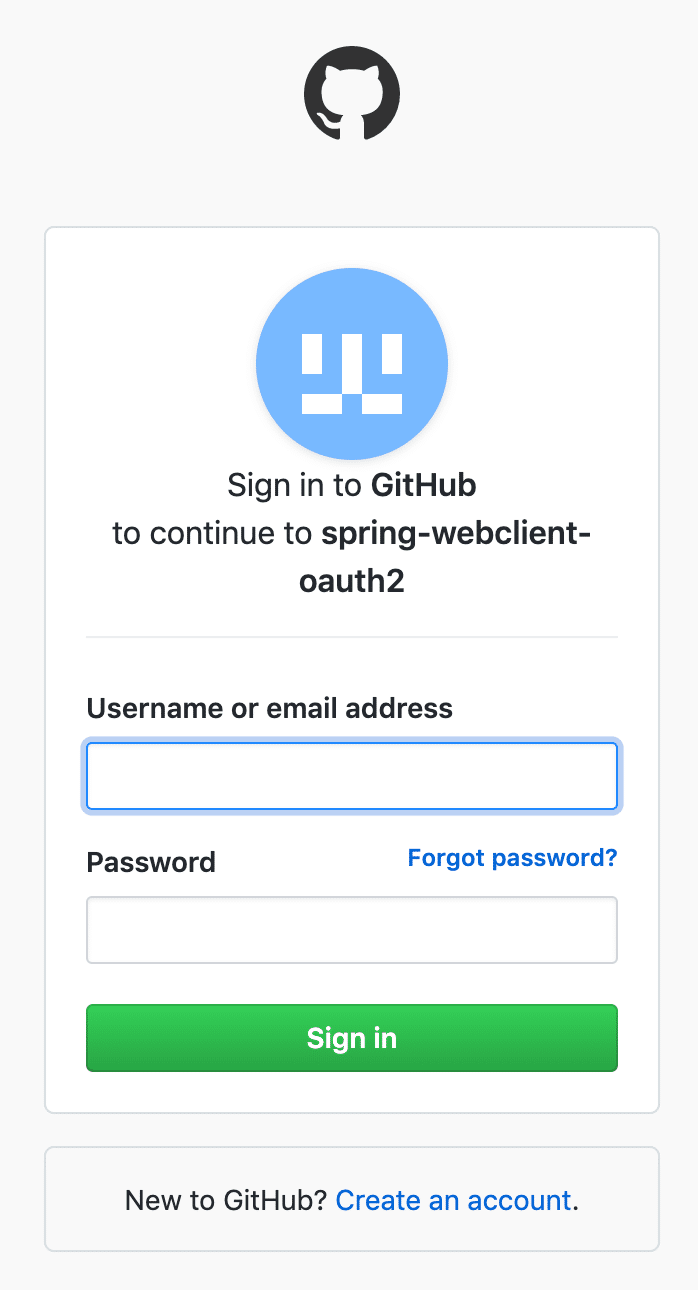
The backend controller takes an OAuth2AuthorizedClient as a method argument alongside the authenticated principal and the Spring MVC Model class. Once a user accesses our page, a redirect to GitHub takes place and the user has to provide his GitHub credentials:

After GitHub successfully verifies the credentials, the user gets redirected to our application and Spring Security will exchange the authorization code for an access token in the background.
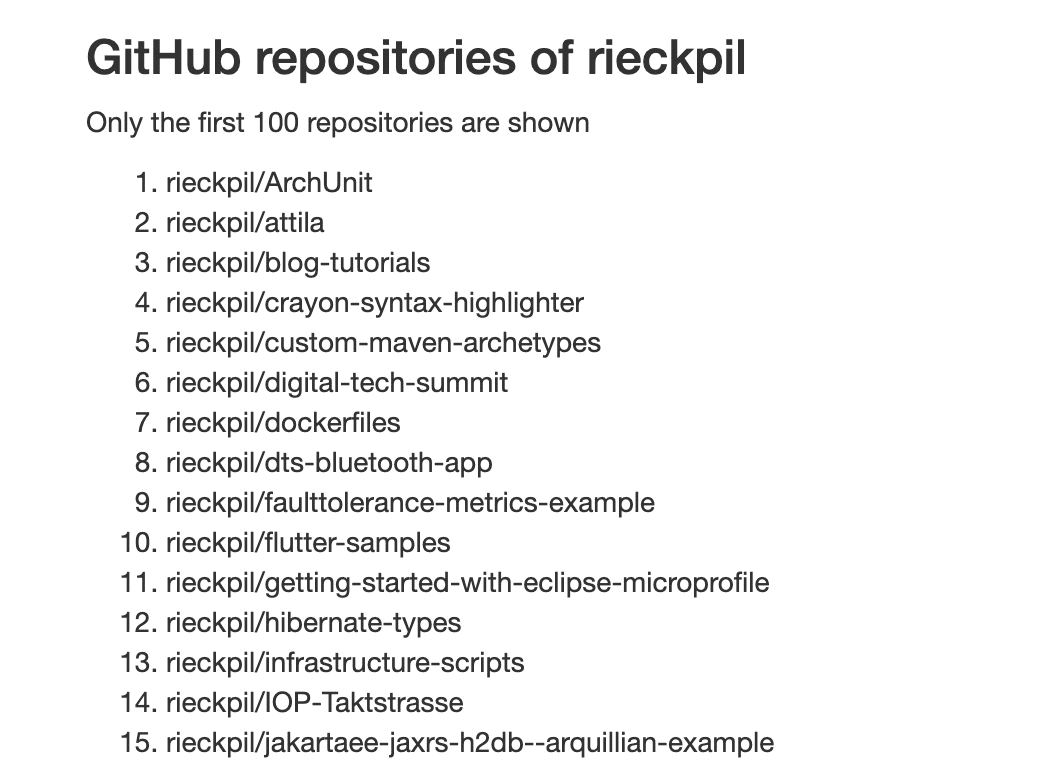
Given this token, we can access the GitHub API with the WebClient and query for the user’s repositories:
|
1 2 3 4 5 6 7 8 9 10 11 12 13 14 15 16 17 18 19 20 21 22 23 24 25 26 27 28 29 30 31 32 33 34 35 36 37 38 39 |
@Controller @RequestMapping("/") public class GitHubController { private static final String GITHUB_API_URL = "https://api.github.com"; private WebClient webClient; public GitHubController(WebClient webClient) { this.webClient = webClient; } @GetMapping public String index(@RegisteredOAuth2AuthorizedClient OAuth2AuthorizedClient authorizedClient, @AuthenticationPrincipal OAuth2User oauth2User, Model model) { model.addAttribute("repositories", fetchAllRepositories(authorizedClient)); model.addAttribute("username", oauth2User.getAttributes().get("login")); return "index"; } private Flux<String> fetchAllRepositories(OAuth2AuthorizedClient authorizedClient) { return this.webClient .get() .uri(GITHUB_API_URL, uriBuilder -> uriBuilder .path("/user/repos") .queryParam("per_page", 100) .build() ) .attributes(oauth2AuthorizedClient(authorizedClient)) .retrieve() .bodyToMono(new ParameterizedTypeReference<List<JsonNode>>() {}) .flatMapMany(Flux::fromIterable) .map(jsonNode -> jsonNode.get("full_name").asText()); } } |
The final result looks like the following:

In conclusion, with the correct setup, there is almost nothing to do for an OAuth2 integration. Spring Security in combination with Spring Boot takes care of all the configuration. Again, please note that this example is for using a reactive Web stack and not the Servlet stack. For a Spring Web setup with Tomcat, have a look at this post to configure the WebClient for OAuth2.
You can find the source code with further instructions on how to run this application on GitHub.
Have fun using the OAuth2 with the Spring WebClient for a WebFlux application,
Phil

